Custom Vehicle Controller
  • Custom Vehicle Controller
  • Guides
    • Workflow
      • Quick Setup
      • Creating New Parts
      • Modifying Parts
      • Creating Vehicle Parts Presets
      • Customizable Sets and Runtime Parts Change
      • Engine Performance Customization
      • Exposing Current Car Stats
    • API
      • CustomVehicleController
      • VehicleEngineSoundManager
      • RaceManager
      • RacerProgress
      • RaceSpawner
      • CollisionHandler
    • Vehicle Controller Input Provider
      • Input System Example
      • Mobile Input
    • Tips, Warnings and Requiremens
      • Work With Editor
      • Vehicle Set Up
    • AI Setup
      • AI Racer Creation
      • AI Racer Setup
      • AI Chaser Setup
      • Race Creation
      • Race Configuration
      • Race Information
    • Vehicle Damage System
      • Vehicle Damage Controller
      • Collision Area Partitioner
      • Part Damage Handler
      • Vehicle Attachments Aligner
      • Collision Handler
    • Additional Settings
      • Custom Vehicle Controller
      • Car Visuals Essentials
    • Package Settings
      • Assets Save Location
      • Project-Wide Surface Settings
    • Extra
      • Adding Visual Effects
        • Individual Effect Set Up
      • Adding Sound Effects
        • Adding Engine Sound
        • Adding Extra Sound Effects
  • Converting To Other Render Pipelines
    • Convert To Built-in RenderPipeline
    • Convert To HDRP RenderPipeline
Powered by GitBook
On this page
  • 1. Install Input System Package
  • 2. Create Input Actions Asset
  • 3. Add Input Actions
  • 4. Create a Script
  1. Guides
  2. Vehicle Controller Input Provider

Input System Example

Example on implementing input reading using Input System

PreviousVehicle Controller Input ProviderNextMobile Input

Last updated 1 year ago

1. Install Input System Package

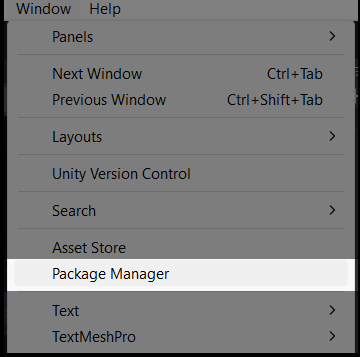
Go to Window -> Package Manager

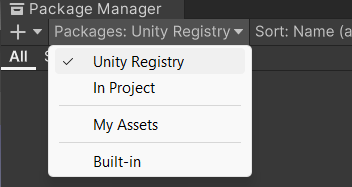
Search from the Unity Registry

Type "Input System" in the search bar and install

2. Create Input Actions Asset

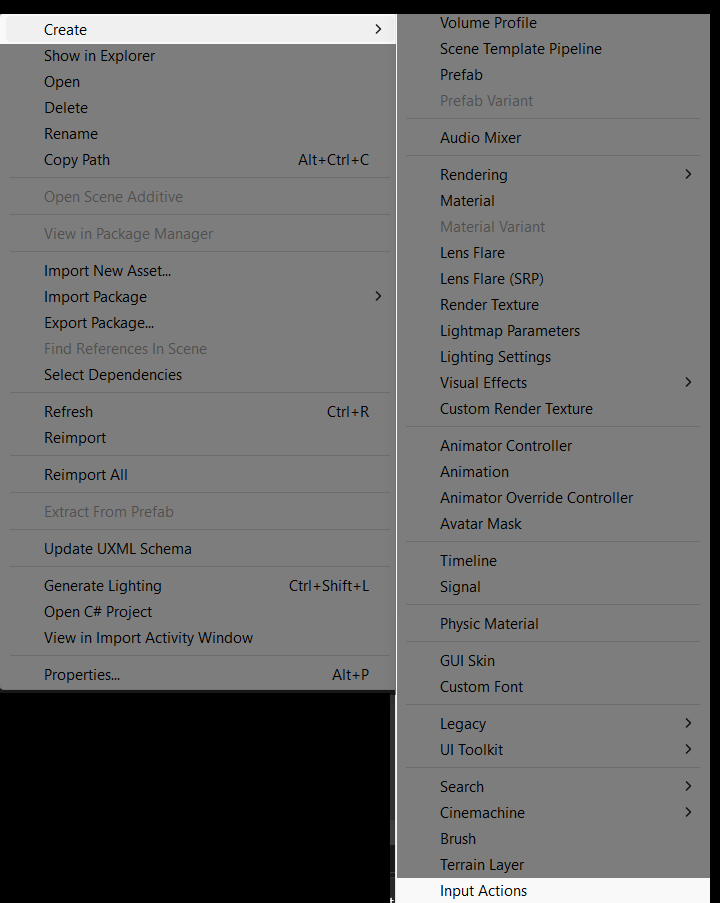
Create input actions asset by doing right-click in the folder -> Create -> InputActions

3. Add Input Actions

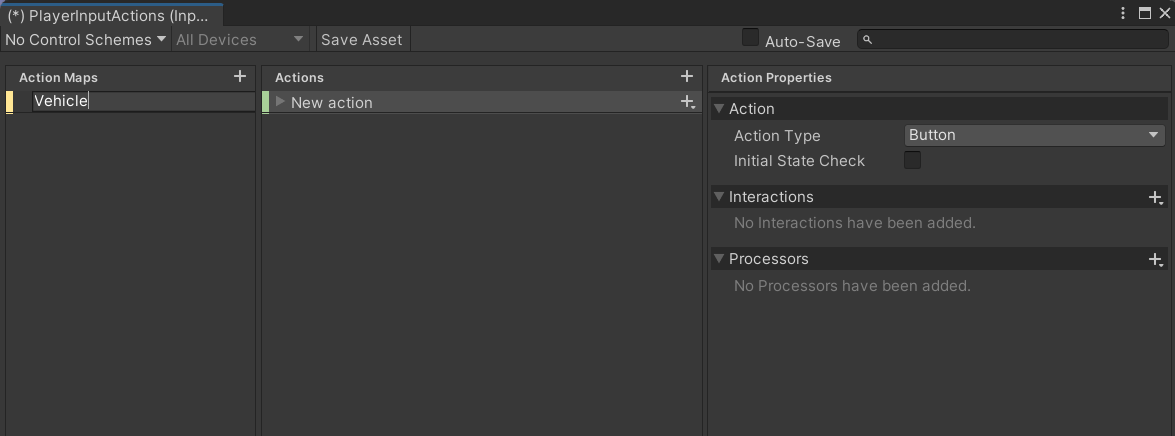
Open the input actions asset and create new action map by clicking "+".

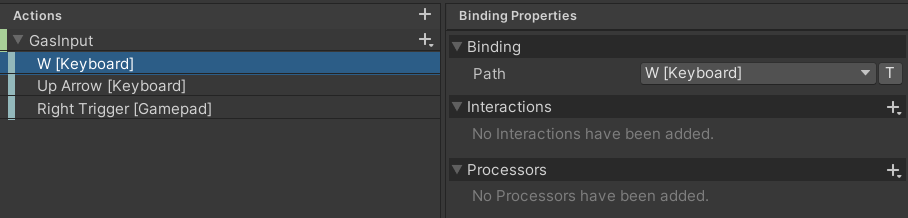
Create new action called "GasInput" and set it's action type to "Value" and Control Type to "Any".

Add bindings by clicking "+". As a path select the input button

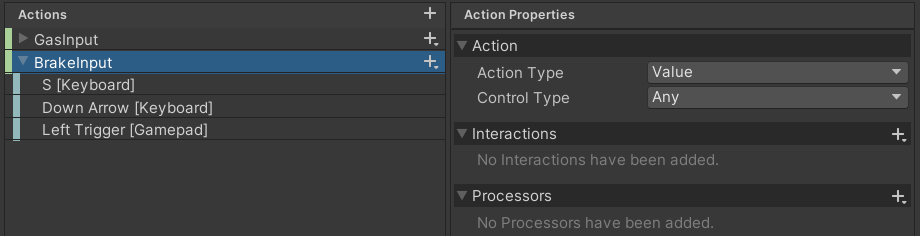
Repeat the same steps for the Brake Input

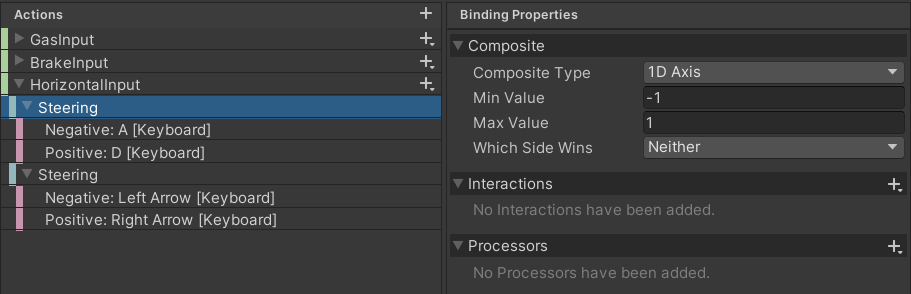
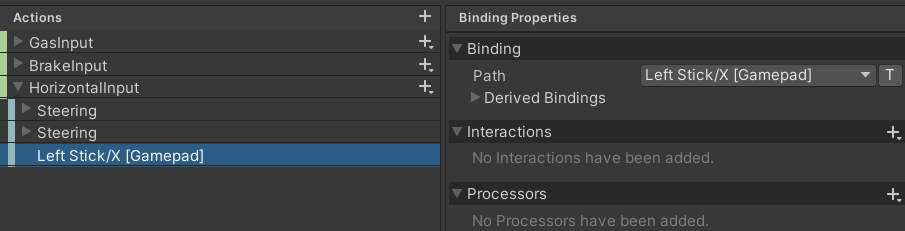
Create new action map for the steering input. Add Positive/Negative binding for the WASD controls

Add binding for the left stick horizontal input

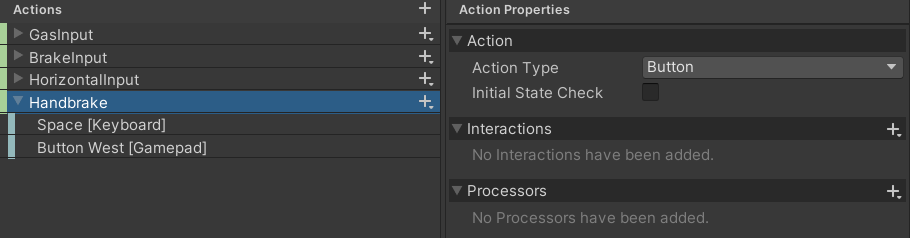
Create Handbrake action of type "Button" and add input paths

Save the asset and close the window.

4. Create a Script

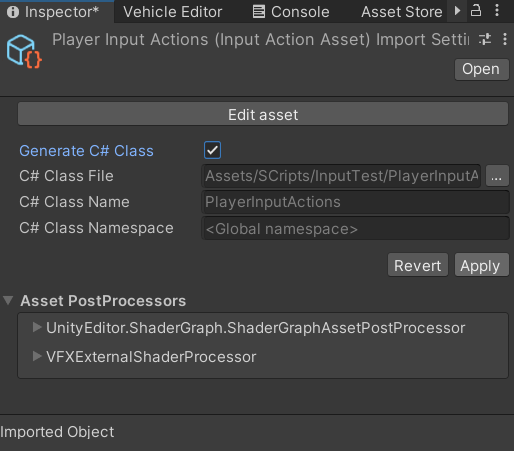
Click on the InputActions asset, check the "Generate C# Class" toggle and click "Apply"

Create new C# script

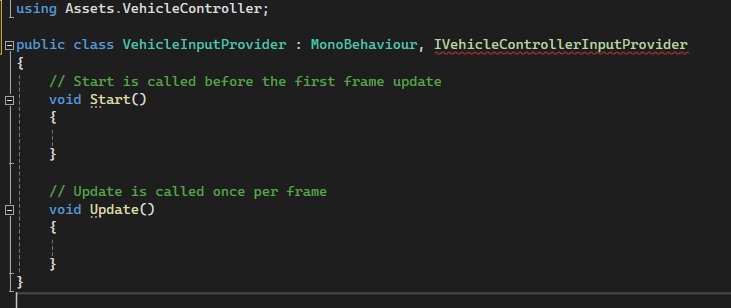
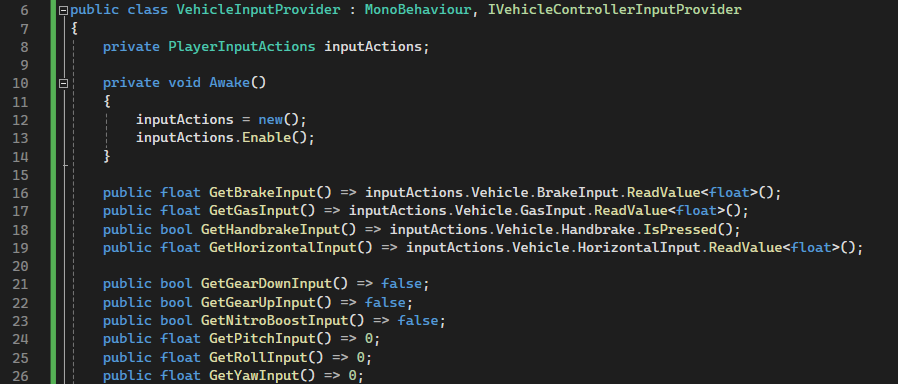
Open the script. Add the namespace by typing "using Assets.VehicleController". Inherit from the IVehicleControllerInputProvider

Create a new object of type PlayerInputActions (the generated class from the input actions) in Awake.

Implement the interface

In Visual Studio, click on the IVehicleControllerInput provider, which should have a red wavy underline, press Alt + Enter and select "Implement Interface"

GearUp/GearDown should be actions of type button. In code, you can read the value by calling inputActions.Vehicle.GearUp.WasPerformedThisFrame().

NitroBoost should be implemented like Handbrake.

Pitch/Yaw/Roll should be implemented like HorizontalInput.